Step-by-Step Guide to Installing a Car MP5 Player

Installing a car MP5 player transforms your driving experience. You get Bluetooth connectivity and support for various media formats. Imagine streaming music or taking calls hands-free. A structured installation process ensures everything works perfectly. You avoid mistakes that could damage the system. The car mp5 player wiring diagram becomes your best friend. It guides you through connecting wires correctly. You gain confidence knowing each step is right. Enjoy a seamless setup and dive into a world of entertainment on the road.
Safety Precautions
Disconnecting the Car Battery
Importance of disconnecting the battery
Disconnecting the car battery ensures safety during installation. Electrical systems can cause shocks or short circuits. Removing the battery connection prevents these risks. The grounded side should be disconnected first. This method avoids emergency situations. Insulating the battery terminals adds another layer of safety.
Steps to safely disconnect the battery
Turn off the ignition and remove the key.
Locate the battery in your vehicle.
Use a wrench to loosen the nut on the negative terminal.
Remove the negative cable from the battery.
Secure the cable away from the battery to prevent contact.
Ensuring a Safe Work Environment
Tools and materials needed
Gather essential tools before starting. You need screwdrivers, wrenches, and a wiring harness. Connectors are also necessary for secure connections. A user manual and installation guide will help you follow the steps correctly.
Safety gear and precautions
Wear safety gear to protect yourself. Gloves and goggles keep you safe from sharp edges and debris. Ensure the work area is well-lit and organized. Keep tools within reach to avoid unnecessary movement. A clean workspace helps maintain focus and efficiency.
Gathering Necessary Tools and Materials
Essential Tools
Screwdrivers and wrenches
You need screwdrivers and wrenches for the installation. These tools help remove the existing stereo and secure the new Car MP5 Player. Keep a set of both flathead and Phillips screwdrivers handy. A socket wrench set will also come in handy for loosening and tightening bolts.
Wiring harness and connectors
A wiring harness simplifies the connection process. It ensures compatibility between the Car MP5 Player and your vehicle's wiring. Connectors provide secure and stable connections. These components prevent loose wires and potential electrical issues.
Additional Materials
User manual and installation guide
The user manual is your roadmap. It provides detailed instructions for installing the Car MP5 Player. Follow the installation guide step-by-step. This approach helps avoid mistakes and ensures a smooth setup process.
Optional accessories
Consider optional accessories to enhance your experience. Accessories like a remote control or additional speakers can improve functionality. Some users add a backup camera for extra convenience. Choose accessories that fit your needs and preferences.
Installation Process

Preparing the Dashboard
Removing the existing stereo
Ready to swap out that old stereo? Start by gathering your tools. A screwdriver and a panel removal tool will come in handy. First, remove any trim panels surrounding the stereo. These panels usually snap off with a little pressure. Next, unscrew the mounting screws holding the stereo in place. Gently slide the stereo out of the dashboard. Disconnect the wiring harness and antenna cable from the back. Keep these parts organized for later use.
Cleaning and preparing the area
Now that the old stereo is out, it's time to clean up. Dust and debris can accumulate in the dashboard cavity. Use a soft cloth or a vacuum to clean the area thoroughly. A clean workspace ensures a smooth installation. Check for any loose wires or damaged connectors. Fix any issues before moving on to the next step. A tidy dashboard makes the new installation look professional.
Connecting Power and Speaker Cables
Identifying the correct wires
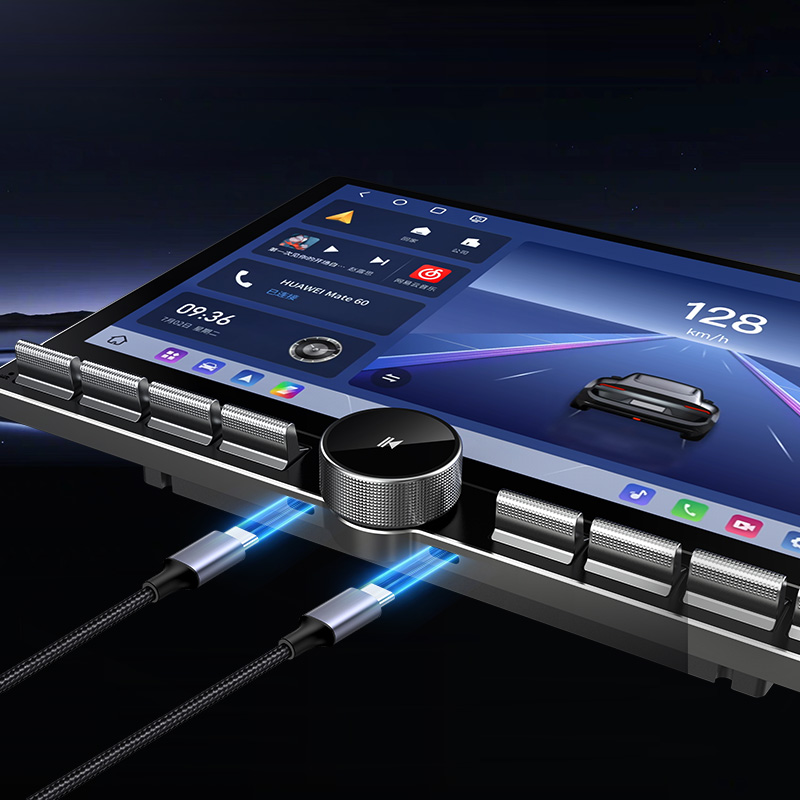
Connecting the right wires is crucial. Start by examining the car mp5 player wiring diagram. This diagram shows which wires connect to power, speakers, and other components. Match the wires from the car to those on the MP5 player. Look for color-coded wires to make identification easier. Double-check each connection to avoid mistakes.
Securing connections
Once you've identified the wires, it's time to secure them. Use connectors or crimping tools to attach the wires firmly. Loose connections can cause audio issues or power loss. Tug gently on each wire to ensure a solid connection. Secure the wires with electrical tape or zip ties. This step prevents wires from coming loose while driving.
Understanding the car mp5 player wiring diagram
The car mp5 player wiring diagram is your guide. This diagram outlines how to connect each wire correctly. Pay close attention to the labels and color codes. The diagram helps prevent errors during installation. Study the diagram carefully before proceeding. A clear understanding ensures a successful setup.
Installing the MP5 Player
Placing the player in the dashboard
With the wires connected, it's time to install the MP5 player. Carefully slide the player into the dashboard cavity. Align the player with the mounting brackets. Ensure the player sits flush with the dashboard. Proper placement enhances the aesthetic appeal.
Securing the player in place
Finally, secure the MP5 player in its new home. Use the screws you removed earlier to fasten the player. Tighten the screws until the player feels stable. Avoid over-tightening, which can damage the player or dashboard. Once secured, test the player to ensure everything works. Enjoy your new car MP5 player and all its features.
Configuring Settings
Bluetooth Settings
Pairing devices
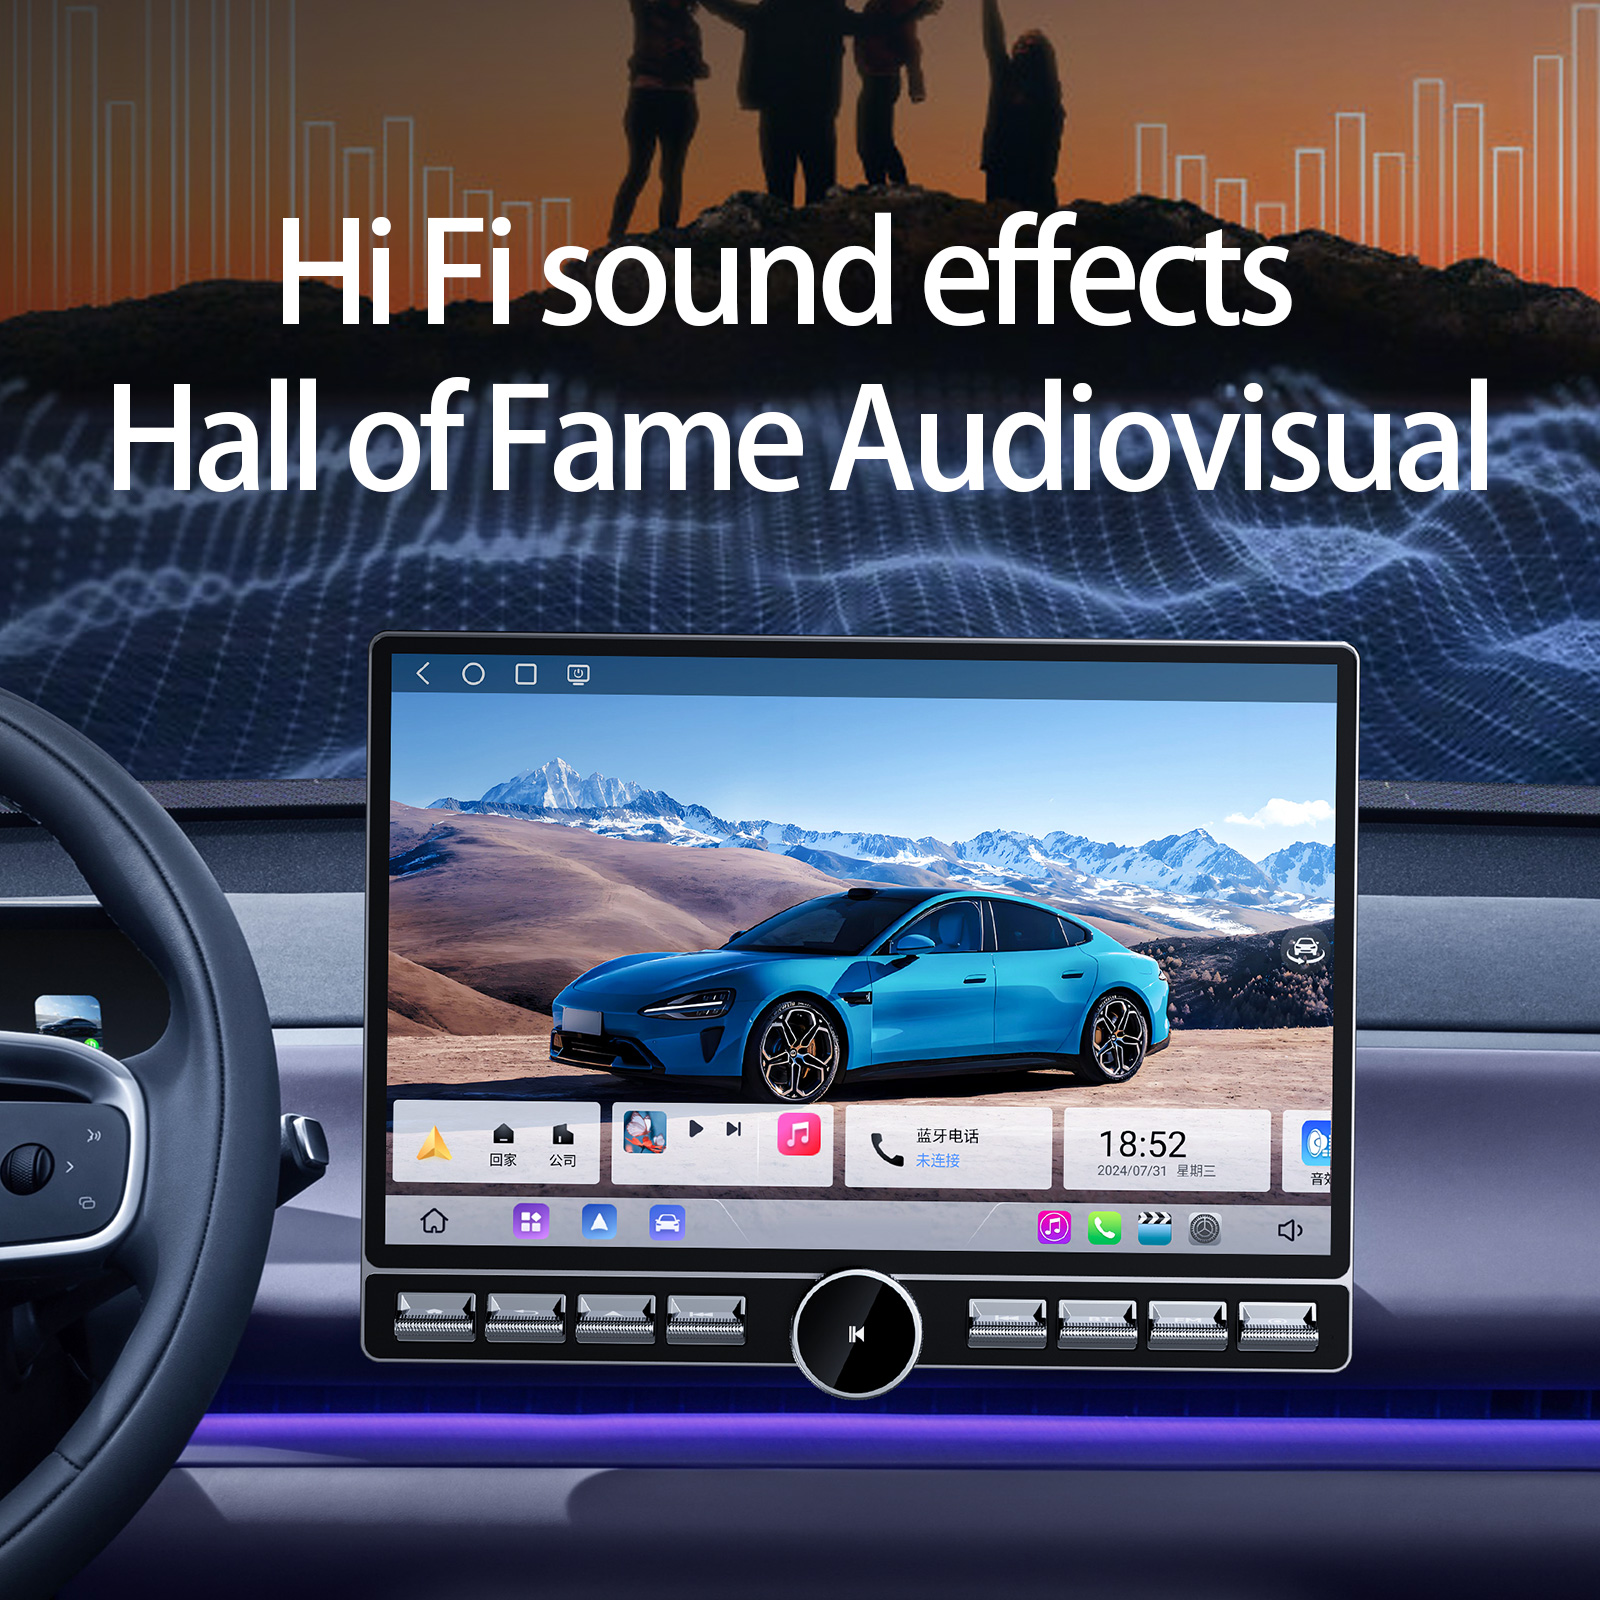
Let's get your Car MP5 Player connected with Bluetooth. Start by turning on the Bluetooth feature on your phone. Access the settings menu on the MP5 player. Look for the Bluetooth option and select it. The player will search for nearby devices. When your phone appears on the list, select it to pair. Confirm the connection on both devices. You can now enjoy hands-free calls and stream music directly from your phone.
Adjusting audio settings
Time to tweak those audio settings for the best sound experience. Navigate to the audio settings menu on the MP5 player. Adjust the bass, treble, and balance to your liking. Test different settings with various music genres. Find what sounds best for you. Make sure the volume levels are comfortable. Enjoy crystal-clear sound while driving.
Additional Features
Setting up the built-in DV camera
The Car MP5 Player often includes a built-in DV camera. This feature lets you record videos while driving. Begin by accessing the camera settings on the player. Adjust the resolution and frame rate for optimal video quality. Position the camera for a clear view of the road. Ensure the camera is securely mounted. Start recording and capture your journeys effortlessly.
Configuring other multimedia options
Explore the multimedia options available on your Car MP5 Player. Access the media settings menu to configure these features. Set up playlists or organize your media library. Adjust the display settings for better visibility. Customize the interface to suit your preferences. Dive into a world of entertainment with ease.
Troubleshooting and Additional Resources
Common Installation Issues
No power to the player
Encountering a power issue with the MP5 player? Check the connections first. Ensure the wiring harness is securely attached. Inspect the fuse in the car's fuse box. A blown fuse can prevent power from reaching the player. Replace the fuse if necessary. Verify the battery connection remains intact. A loose cable can disrupt the power supply.
Poor sound quality
Experiencing poor sound quality? Examine the speaker connections. Loose wires can cause audio problems. Secure all connections firmly. Adjust the audio settings on the player. Fine-tune the bass and treble levels. Test different music tracks to identify improvements. Consider upgrading the speakers for better sound performance.
Helpful Resources
Links to installation videos
Need visual guidance for installation? Online videos offer step-by-step instructions. Search for videos specific to your car model. Watch experts demonstrate the process. Pause and replay sections as needed. Videos provide valuable insights and tips.
Online forums and support
Looking for advice from fellow enthusiasts? Join online forums dedicated to car audio systems. Engage with a community of experienced users. Share your experiences and ask questions. Receive support and solutions from knowledgeable members. Forums offer a wealth of information and camaraderie.
You’ve successfully installed your car MP5 player. The process involved careful steps from disconnecting the battery to configuring settings. If any issues arise, don’t hesitate to seek help from online resources or forums. Enjoy the enhanced entertainment experience with Bluetooth connectivity and multimedia options. The road ahead is now filled with music and convenience. Happy driving!
See Also
Detailed Instructions for Swapping Out Your Vehicle Key
Power Source for Auto Key Step-by-Step Transition to Intelligent Key
Tips for Exchanging Your Vehicle Key Methodically
Setting Up and Configuring an LCD Intelligent Key for Key Glock Vehicles from iSun Maker

iSun Digitech Limited
Contact : Coco Huang
E-mail: sales@iasun.cn