MP5 Car Stereo Wiring Diagram Made Easy

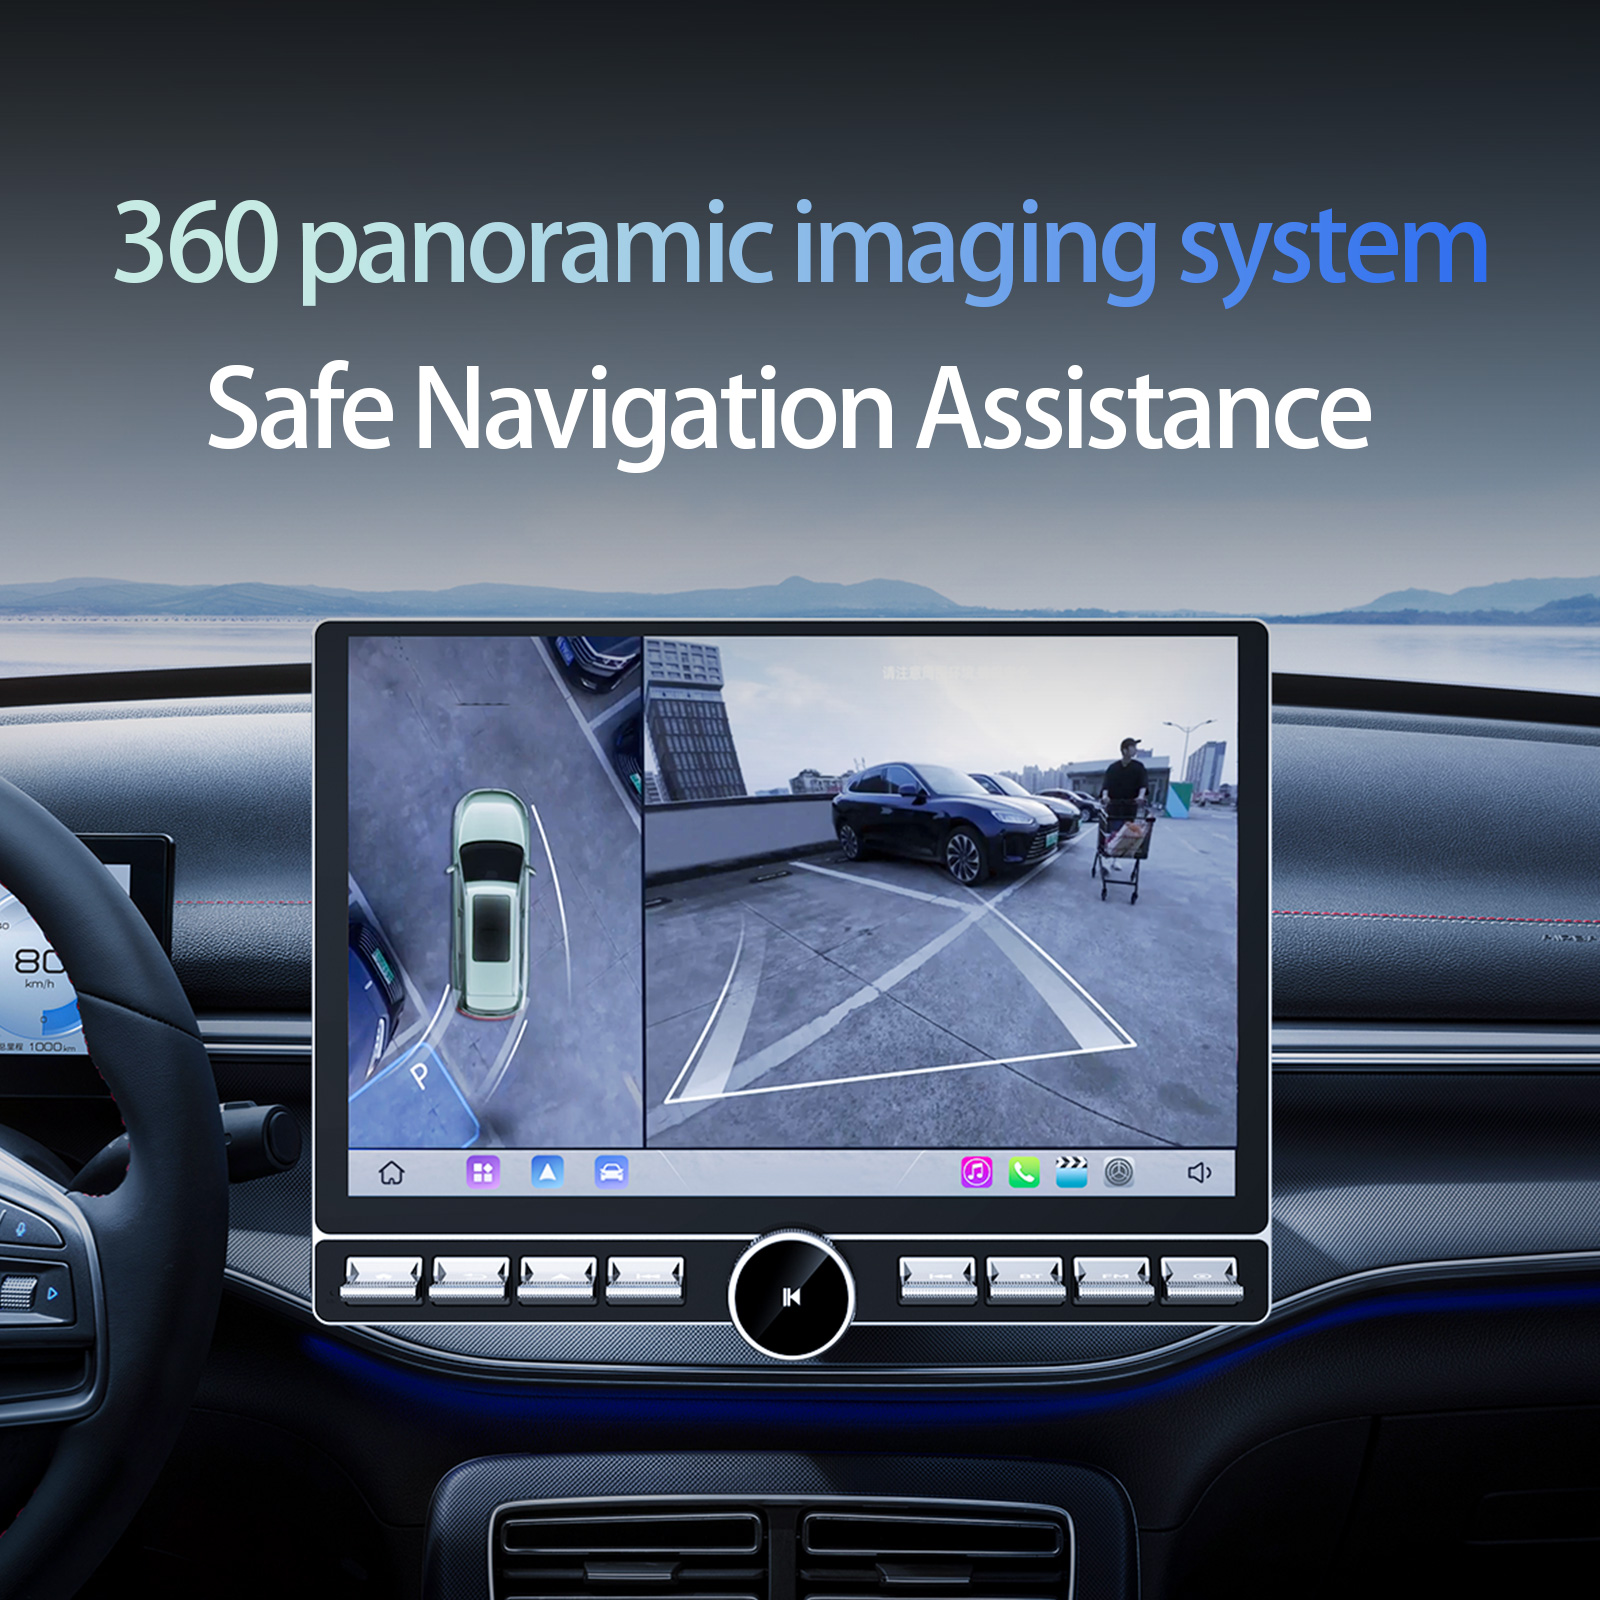
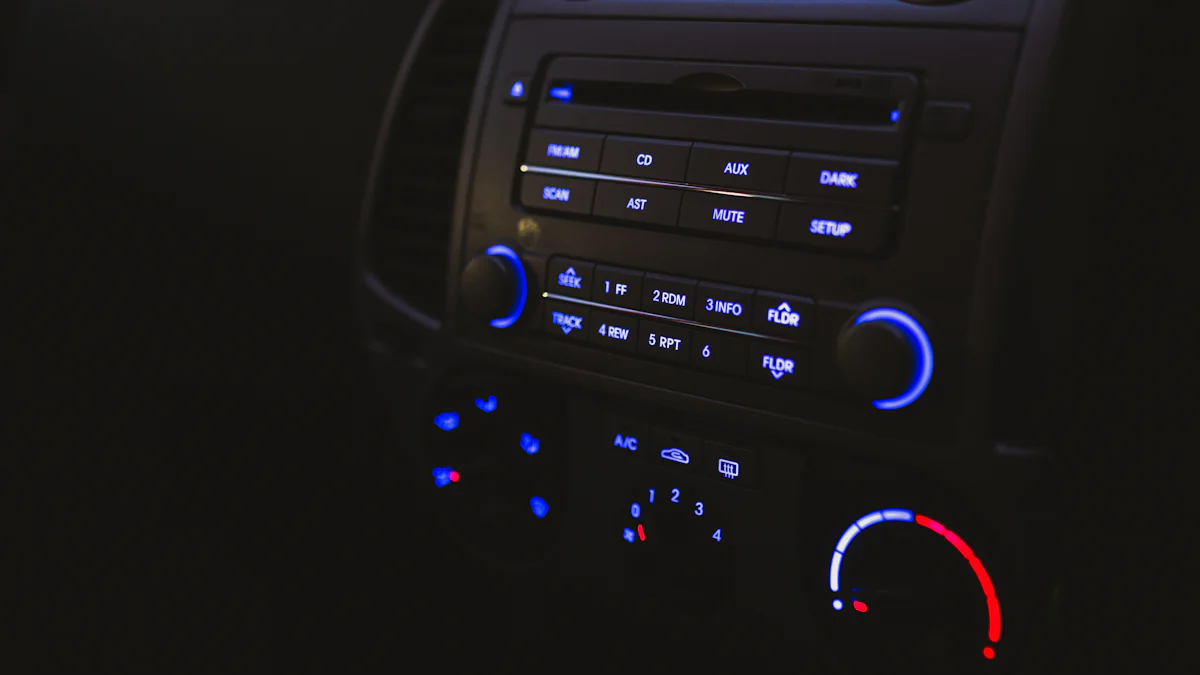
Imagine cruising down the highway with your favorite tunes blasting through a brand-new car mp5. Installing a car mp5 offers a world of benefits. You get enhanced entertainment features that make every drive more enjoyable. The car mp5 supports MP3/WMA formats, so you can play all your favorite music files. Bluetooth connectivity lets you connect your phone easily, making hands-free calls a breeze. A proper mp5 car stereo wiring diagram ensures a smooth installation process. With a car mp5, you transform your vehicle into a mobile entertainment hub.
Tools and Materials Needed
Getting ready to install your MP5 car stereo? Let's dive into the tools and materials you'll need. Having the right gear makes the process smooth and hassle-free.
Essential Tools
Screwdrivers
You'll need a set of screwdrivers. These help you remove panels and secure the stereo in place. Make sure to have both flathead and Phillips screwdrivers handy. Different screws might require different types.
Wire Strippers
Wire strippers are essential for clean and precise wire connections. These tools help you strip the insulation from wires without damaging them. Properly stripped wires ensure a solid connection, reducing the risk of electrical issues.
Necessary Materials
Wiring Harness
A wiring harness is crucial for connecting your MP5 stereo to the car's electrical system. This component simplifies the installation process. Many stereos, like the UNITOPSCI 9601 MP5, recommend using the original connector to prevent short circuits.
Electrical Tape
Electrical tape secures wire connections and prevents exposure. This tape provides insulation and helps keep everything neat. Properly taped wires reduce the chance of accidental disconnections or shorts.
With these tools and materials, you're all set to start your installation. Ready to transform your car into an entertainment hub? Let's get started!
Step-by-Step Installation Guide

Ready to dive into the installation of your MP5 car stereo? This guide will walk you through each step, ensuring a smooth process.
Preparing for Installation
Disconnecting the Battery
Start by disconnecting the battery. Safety comes first, and this step prevents any electrical mishaps. Locate the negative terminal and remove the cable. This action ensures no power flows during the installation.
Removing the Old Stereo
Next, remove the old stereo. Use your screwdrivers to unscrew the panels. Gently pull out the stereo from the dashboard. Keep all screws and brackets handy for later use.
Wiring the MP5 Stereo
Connecting the Wiring Harness
Now, connect the wiring harness. This component links your MP5 stereo to the car's electrical system. Follow the mp5 car stereo wiring diagram for precise connections. The diagram helps avoid mistakes and ensures a secure fit.
Matching Wire Colors
Match the wire colors according to the diagram. Each color represents a specific function. Proper matching guarantees that the stereo works correctly. Double-check each connection to prevent issues later.
Finalizing Installation
Securing the Stereo
Secure the stereo in its place. Use the screws and brackets you saved earlier. A snug fit prevents vibrations and keeps the stereo stable. Make sure everything aligns perfectly within the dashboard.
Testing the MP5 Player
Finally, test the MP5 player. Reconnect the battery and power up the stereo. Check all functions, including Bluetooth and media playback. A successful test means your installation is complete.
This guide simplifies the process with a clear mp5 car stereo wiring diagram. Enjoy your enhanced in-car entertainment experience!
Vehicle-Specific Considerations
Consulting Specific Guides
Importance of vehicle model guides
Every car has unique wiring needs. You need a guide specific to your vehicle model. These guides offer detailed instructions for connecting your MP5 stereo. Accurate information helps avoid mistakes during installation. A model-specific guide ensures compatibility with your car's electrical system.
Online resources and manuals
Online resources provide valuable support. Many manufacturers offer digital manuals. The Hikity 9601 MP5 manual is available online. Video tutorials can also help you visualize the process. Accessing these resources makes installation easier. You can find forums where enthusiasts share tips and experiences. This community support can be invaluable for troubleshooting.
Troubleshooting Common Issues
Encountering issues with your MP5 car stereo? No worries! Let's tackle some common problems together.
Display Problems
Checking Wiring Connections
A blank or flickering display often signals loose wiring connections. Grab your tools and inspect each wire behind the stereo. Ensure every connection is secure. Loose wires can disrupt the flow of power. A quick check can save you a lot of hassle.
Ensuring Power Supply
No display might mean no power. Double-check the power supply to the stereo. Look at the fuse box for any blown fuses. Replace any faulty ones. A stable power supply keeps your display shining bright.
Sound Issues
Verifying Speaker Connections
No sound? First, verify the speaker connections. Each speaker wire must connect firmly. Loose connections lead to silence. Tighten any loose ends and test again. Proper connections bring your music to life.
Adjusting Audio Settings
Distorted sound might need a tweak in audio settings. Dive into the stereo's menu. Adjust bass, treble, and balance settings. Sometimes, a simple reset does wonders. Experiment until you find the perfect sound.
Remember, being proactive about identifying these symptoms helps maintain the longevity of your device. Enjoy a seamless audio experience with these troubleshooting tips!
Additional Tips and Advice
Safety Precautions
Handling electrical components
Always handle electrical components with care. Use insulated tools to avoid electric shocks. Keep your workspace dry and organized. A clutter-free area reduces the risk of accidents. Ensure that all connections are secure before powering up the stereo. Loose wires can cause malfunctions.
Avoiding short circuits
Prevent short circuits by double-checking wire connections. Match each wire to its corresponding terminal. Use electrical tape to cover exposed wires. This step prevents accidental contact between wires. Test the stereo before installation. Connect the red and yellow wires to a constant 12V power source. Attach the black wire to a negative 12V source. Power on the stereo to ensure functionality. This test confirms that the stereo works properly.
Professional Assistance
When to seek help
Consider professional help if you feel unsure about the installation. Complex wiring can be tricky. A professional installer has the expertise to handle it. Seek assistance if the stereo does not function after installation. A professional can diagnose and fix issues quickly.
Benefits of professional installation
Professional installation offers several benefits. Experts ensure a seamless setup. Proper installation prevents future problems. Professionals have access to specialized tools. These tools make the process efficient. A professional job often includes a warranty. This warranty provides peace of mind. Enjoy a hassle-free experience with expert help.
Let's recap the key points. Installing an MP5 car stereo transforms your vehicle into an entertainment hub. The right tools and materials make installation smooth. Follow the wiring diagram for a secure connection. Troubleshoot common issues to ensure everything works perfectly. Professional help is available if you need it. Experts offer a seamless setup with a warranty. Enhancing your car audio experience brings joy to every drive. Enjoy your favorite tunes on the road. Your car becomes a place of entertainment and relaxation.
See Also
Guide on Transitioning to a Smart Car Key with Battery
Review of iSun's Top Keystart LCD Smart Car Key
iSun Digitech Limited
Contact : Coco Huang
E-mail: sales@iasun.cn

