Step-by-Step Guide to Installing a Car MP5 Player


Upgrading to a car MP5 player transforms your driving experience. You get Bluetooth connectivity and support for various media formats. Imagine streaming music or taking calls hands-free. An MP5 player offers these features and more. The installation process is straightforward. You don't need advanced skills. Just follow a step-by-step guide. Get ready for a seamless car MP5 player installation and enjoy enhanced entertainment on the road.
Preparation for Car MP5 Player Installation
Getting ready for a car MP5 player installation involves some essential steps. Let's dive into the details to ensure everything goes smoothly.
Gather Necessary Tools
You need the right tools to make the installation process easy and efficient. Here's what you'll need:
List of Required Tools
Screwdrivers: A set with different sizes.
Wrench or Socket Set: For disconnecting the battery cable.
Trim Panel Removal Tools: These tools help pry open trim panels without causing scratches or damage.
Car Stereo Removal Tools: Includes radio removal keys and DIN tools for safely removing the old stereo.
Safety Precautions
Safety should always come first. Follow these precautions:
Set the parking brake before starting the installation.
Wear safety gloves to protect your hands.
Keep a fire extinguisher nearby in case of emergencies.
Disconnect the Battery
Disconnecting the battery is a crucial step in the car MP5 player installation process. This ensures safety and prevents electrical issues.
Importance of Safety
Disconnecting the battery helps avoid short-circuiting the electrical system. This step protects both you and the vehicle.
Steps to Disconnect
Locate the car battery under the hood.
Use a wrench to loosen the nut on the negative cable.
Remove the negative cable from the battery terminal.
Secure the cable away from the battery to prevent accidental contact.
Following these steps will prepare you for a successful installation. Get ready to enjoy your new car MP5 player!
Removing the Old Stereo
Time to say goodbye to the old stereo. Let's get started on removing it.
Accessing the Dashboard
First, you need to reach the dashboard. This step is crucial for a smooth removal process.
Removing Panels
Use trim panel removal tools. Gently pry open the panels. Take care not to scratch anything. Keep the removed panels in a safe place.
Identifying Screws and Fasteners
Look for screws and fasteners holding the stereo. Use a flashlight if needed. Identify all the points that need unscrewing. Gather the right screwdriver for the job.
Detaching the Old Unit
Now, focus on detaching the old stereo unit. Follow these steps carefully.
Disconnecting Wires
Locate the wiring harness connected to the stereo. Gently unplug each wire. Make sure to remember the connections. A photo can help with this.
Removing the Stereo
Once the wires are free, pull out the stereo. Use car stereo removal tools if necessary. Handle the unit with care. Place it aside once removed.
You're now ready to install the new MP5 player. Exciting times ahead!
Installing the New MP5 Player
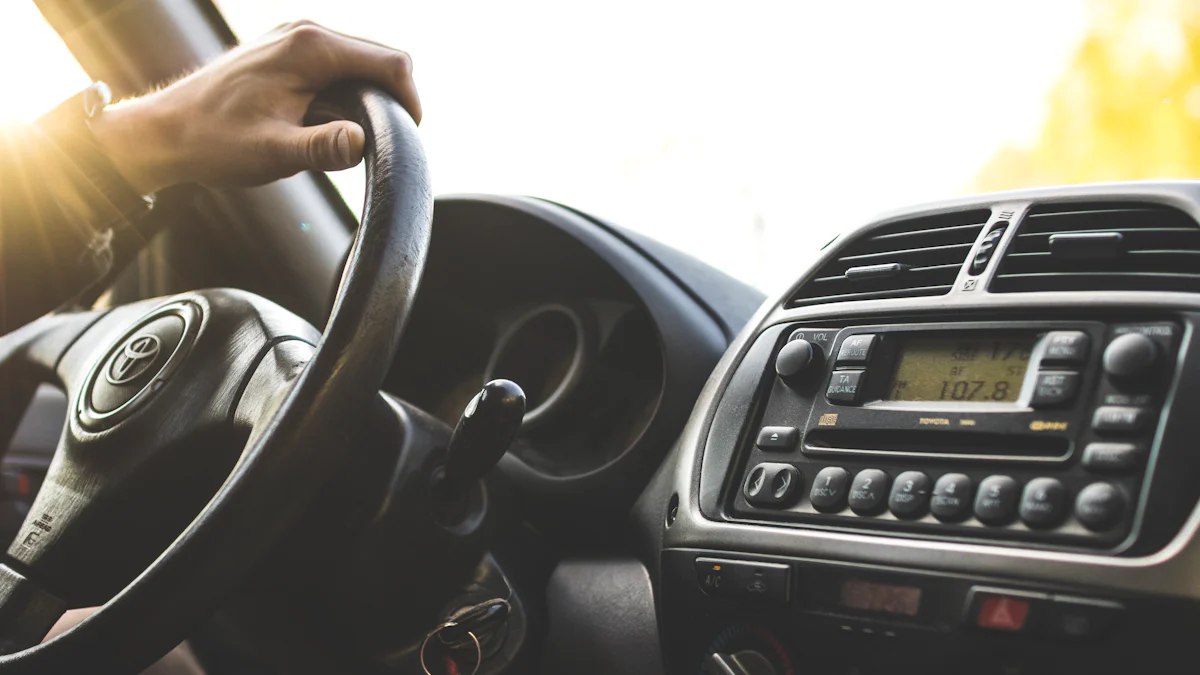
Time to bring in the new entertainment hub. The car MP5 player installation process is exciting and rewarding. Let's make sure everything fits perfectly and works seamlessly.
Preparing the New Unit
Before diving into the wiring, ensure the new unit is ready to go.
Checking Compatibility
First, confirm that the new MP5 player is compatible with your car's dashboard. Check the dimensions and mounting style. Compare these with the old stereo's specifications. This step prevents any fitting issues during the car MP5 player installation.
Assembling Necessary Parts
Gather all parts needed for the installation. This includes the wiring harness, mounting brackets, and screws. Make sure everything is within reach. Having these parts ready speeds up the car MP5 player installation process.
Wiring the MP5 Player
Wiring is a crucial part of the installation. Proper connections ensure the player functions correctly.
Understanding Wiring Diagrams
Start by reviewing the wiring diagram provided with the MP5 player. This diagram shows how to connect the wires to your car's electrical system. Each wire has a specific color code. Match these codes with the ones in your car. This step is vital for a successful car MP5 player installation.
Connecting Power and Speakers
Now, connect the power cables. Ensure the red wire connects to the ignition power source. The yellow wire should connect to the constant power source. Next, link the speaker wires. Match the colors to ensure proper audio output. Secure each connection tightly. Loose wires can cause issues later on.
With the wiring complete, you're one step closer to enjoying your new car MP5 player. The next phase involves securing the unit and testing its functionality. Stay tuned for more tips on completing the car MP5 player installation.
Securing and Testing the Installation

Now, let's make sure everything is secure and working perfectly. This step ensures your car MP5 player installation is complete.
Mounting the MP5 Player
Proper mounting keeps the player stable during drives.
Securing the Unit in Place
Slide the MP5 player into the dashboard slot. Use the screws from the kit to fasten it securely. Check for any movement by giving it a gentle push. A firm fit means success.
Reattaching Panels
Grab the trim panels you removed earlier. Align them with their original positions. Press them back until you hear a click. Ensure all panels sit flush with the dashboard. A neat finish adds to the professional look.
Testing Functionality
Time to see if everything works as expected. Testing confirms that the car MP5 player installation went smoothly.
Powering On the Device
Reconnect the car battery. Turn on the ignition. Watch the MP5 player light up. A successful power-up means the wiring is correct.
Checking Audio and Video Output
Play a song or video. Listen for clear sound from the speakers. Look for a sharp display on the screen. Test Bluetooth connectivity by pairing your phone. Enjoy the new features of the MP5 player.
Congratulations! The car MP5 player installation is complete. Now, hit the road with enhanced entertainment.
Troubleshooting and Additional Considerations
Common Issues
Encountering issues during installation can feel frustrating. Let's tackle some common problems together.
No Power or Sound
No power or sound from the MP5 player? Check the wiring connections first. Ensure all wires are secure. Look at the fuse in the car's fuse box. A blown fuse might cause this issue. Replace the fuse if needed. Verify the battery connection too. A loose battery cable can disrupt power.
Display Problems
A blank or flickering display can be annoying. Inspect the screen connections. Make sure the display cable is firmly attached. Adjust the brightness settings on the MP5 player. Sometimes, a simple reset fixes display issues. Turn off the device and restart it. If problems persist, consult the user manual for guidance.
Optional Modifications
Want to enhance your MP5 player experience? Consider these optional modifications.
Adding Accessories
Accessories can elevate your setup. Add a reverse camera for better parking assistance. Install a USB charger for charging devices on the go. Consider a steering wheel control adapter. This lets you manage the player without taking hands off the wheel.
Enhancing Sound Quality
Craving better sound quality? Upgrade the car speakers. High-quality speakers deliver richer audio. Add an amplifier to boost sound output. An equalizer can fine-tune audio settings. Experiment with different configurations for the best results.
Exploring these options can make your MP5 player even more enjoyable. Dive into these enhancements and transform your driving experience.
You've successfully navigated the car MP5 player installation process. Each step brought you closer to a more enjoyable driving experience. Now, embrace the new features and let them enhance your journeys. Remember to keep safety in mind. Always double-check connections and secure all components. Enjoy the road with your upgraded entertainment system.
See Also
Detailed Instructions for Swapping Out Your Car Key
Power Source for Car Key: Transitioning to Smart Technology
Simple Steps for Exchanging Your Car Key
Setting Up and Configuring an LCD Smart Key for Key Glock Vehicles from iSun

iSun Digitech Limited
Contact : Coco Huang
E-mail: sales@iasun.cn