Step-by-Step Guide to Installing an Audi LCD Smart Car Key

Installing an Audi LCD Smart Car Key enhances the driving experience. The LCD smart car key offers advanced features and a sleek design. This upgrade provides keyless entry, automatic unlock, and locking functions. The new car key fob increases security and convenience. Users can enjoy the modern technology integrated into the Audi key fob.
Tools and Materials Needed
List of Tools
Screwdrivers
Screwdrivers are essential for removing and securing screws during the installation process. A set of precision screwdrivers will provide the necessary sizes for different screws.
Pry tools
Pry tools help in gently removing the old car key without causing damage to the surrounding components. These tools are designed to apply leverage safely.
Key programming device
A key programming device is crucial for syncing the new Audi LCD smart car key with the vehicle's system. This device ensures that the car key functions correctly after installation.
List of Materials
Audi LCD Smart Car Key
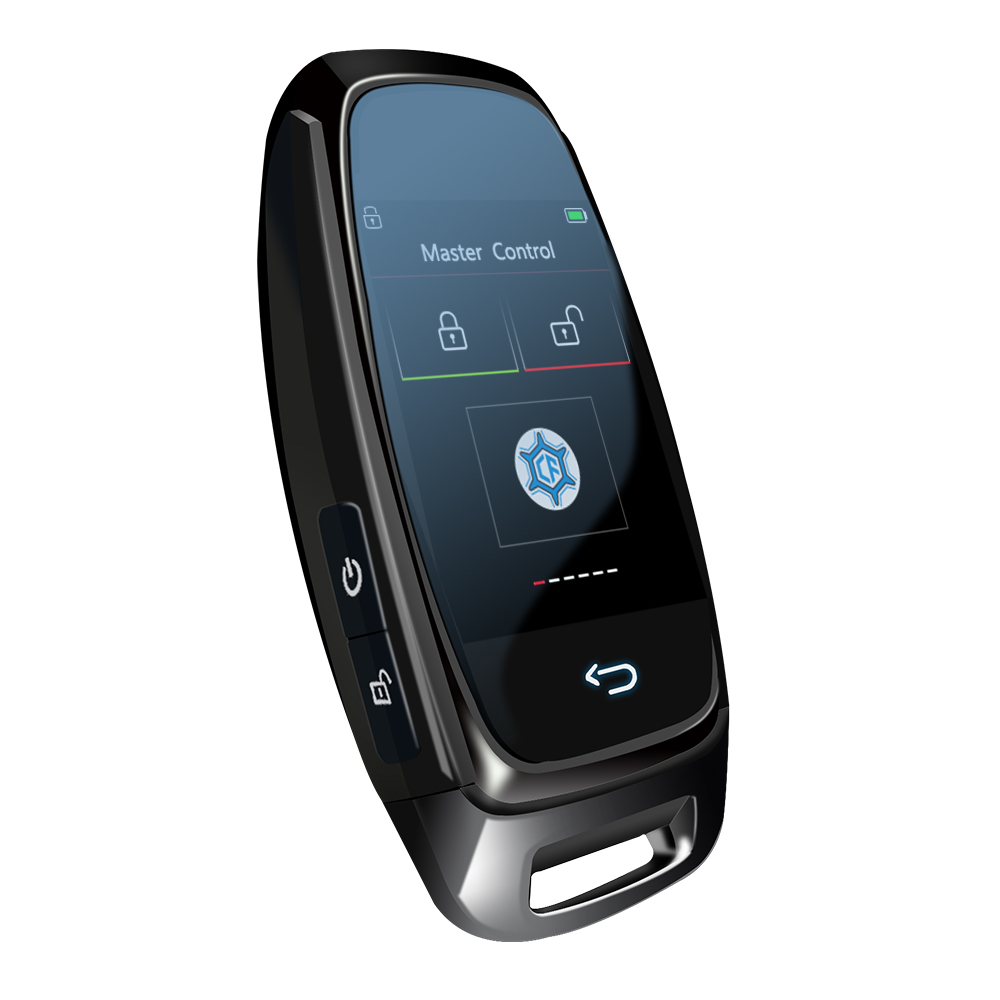
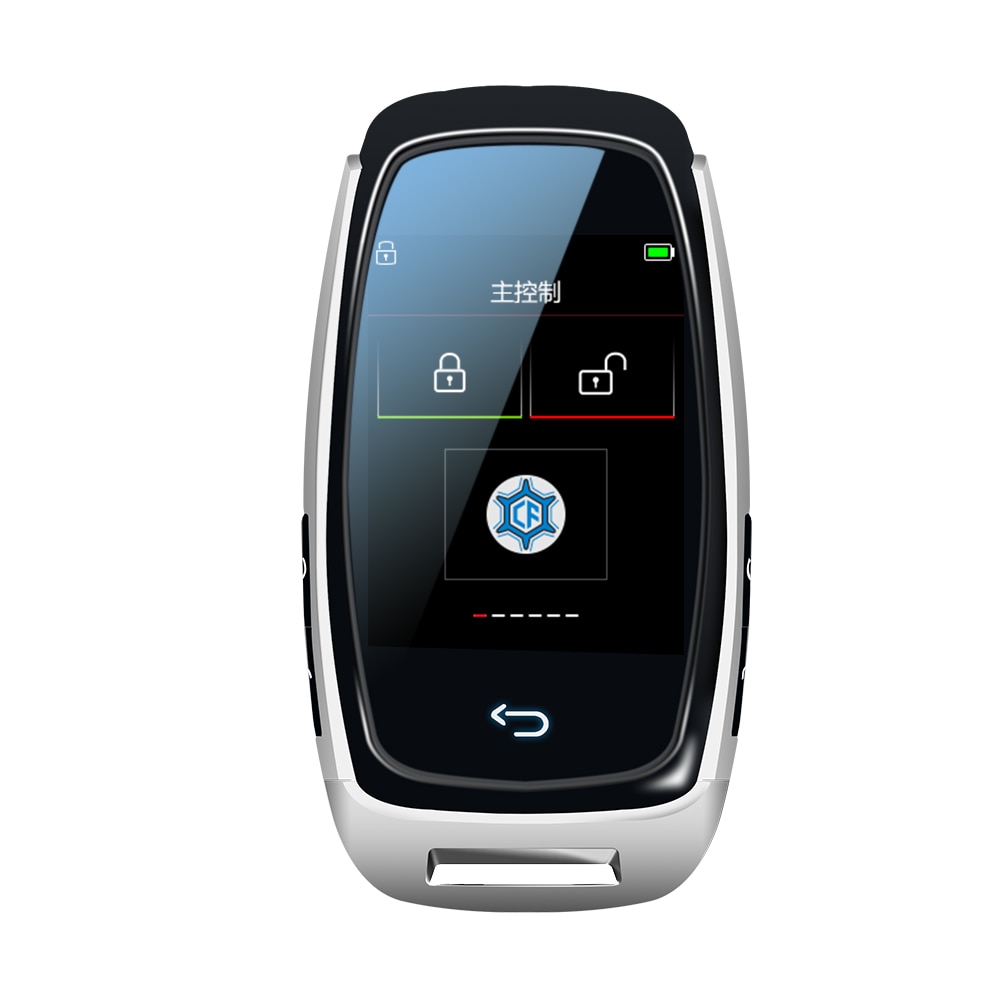
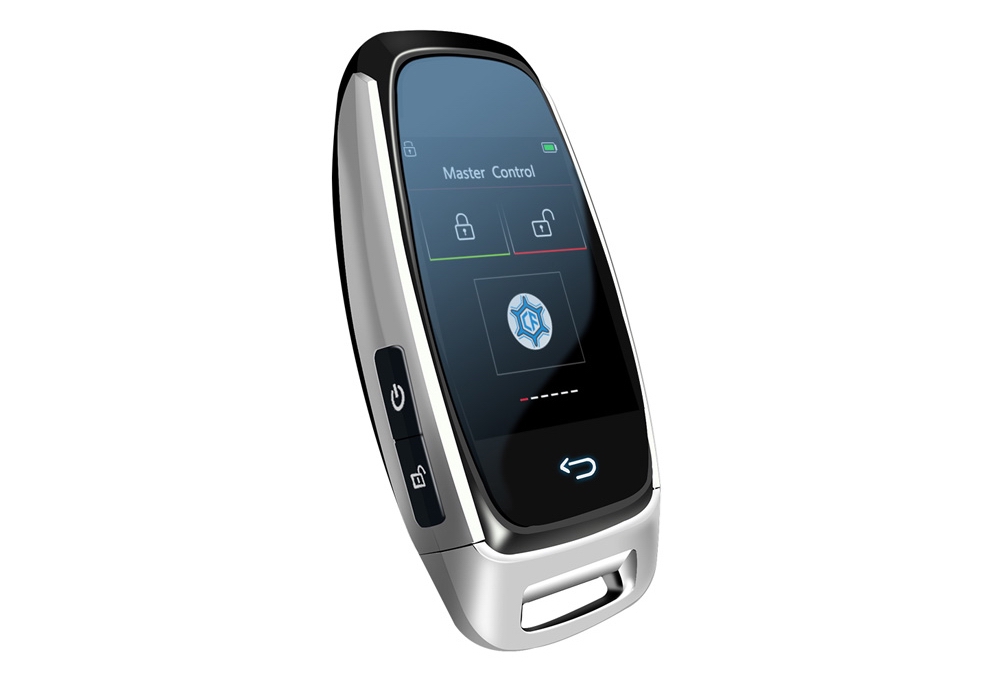
The Audi LCD Smart Car Key is the primary component for this upgrade. This smart car key offers advanced features like keyless entry and an LCD display.
Battery
A battery powers the LCD smart car key. Ensure the battery is compatible with the smart car key model.
User manual
The user manual provides detailed instructions for the installation and programming of the new car key. Reading the manual thoroughly will help avoid mistakes during the process.
Preparatory Steps
Safety Precautions
Disconnecting the car battery
Disconnecting the car battery ensures safety during the installation process. This step prevents electrical shocks and accidental short circuits. Use a wrench to loosen the negative terminal first, followed by the positive terminal.
Wearing protective gear
Wearing protective gear is essential for personal safety. Safety goggles protect the eyes from debris. Gloves provide protection against sharp edges and electrical components. Ensure that the workspace is well-ventilated to avoid inhaling any fumes.
Initial Setup
Reading the user manual
Reading the user manual provides detailed instructions for the installation process. The manual contains specific guidelines for handling the Audi LCD Smart Car Key. Understanding these instructions will help avoid mistakes and ensure a smooth installation.
Gathering all tools and materials
Gathering all tools and materials before starting the installation is crucial. Ensure that screwdrivers, pry tools, and the key programming device are within reach. Verify that the Audi LCD Smart Car Key, battery, and user manual are ready for use. This preparation will streamline the installation process and reduce interruptions.
Installation Process
Removing the Old Key
Locating the key slot
Locate the key slot in the vehicle. The key slot is usually near the steering column or on the dashboard. Refer to the user manual for the exact location. Identifying the correct slot ensures a smooth removal process.
Using pry tools to remove the old key
Use pry tools to gently remove the old car key. Insert the pry tool into the gap around the key slot. Apply gentle pressure to avoid damaging the surrounding components. Carefully lift the old key out of the slot. Proper use of pry tools prevents scratches and other damage.
Installing the New Key
Inserting the new key into the slot
Insert the new Audi LCD Smart Car Key into the key slot. Align the key with the slot to ensure a proper fit. Gently push the key until it clicks into place. The new key should fit snugly without any gaps.
Securing the key with screws
Secure the new key with screws. Use a screwdriver to tighten the screws around the key slot. Ensure that the screws are tight but not overly tightened. Properly securing the key prevents it from becoming loose during use.
Programming the Key
Connecting the key programming device
Connect the key programming device to the vehicle's diagnostic port. The diagnostic port is typically located under the dashboard. Refer to the user manual for the exact location. Ensure a secure connection between the device and the port.
Following the programming instructions
Follow the programming instructions provided in the user manual. The manual will guide through the steps to sync the new LCD smart car key with the vehicle. The process may involve entering specific codes or following on-screen prompts. Completing the programming ensures that the new key functions correctly.
Post-Installation Checks
Testing the Key
Starting the car
Start the car using the newly installed Audi LCD Smart Car Key. Insert the key into the ignition or use the push-start button if the vehicle supports it. Ensure the engine starts smoothly without any issues.
Checking the LCD display
Check the LCD display on the smart car key. Verify that the screen lights up and displays relevant information. Ensure all icons and functions appear as expected. Confirm that the display responds to touch inputs accurately.
Final Adjustments
Ensuring the key is securely installed
Ensure the new key remains securely installed in the slot. Check for any looseness or gaps around the key. Tighten the screws slightly if necessary to secure the key firmly. Verify that the key fits snugly and operates without any hindrance.
Reconnecting the car battery
Reconnect the car battery to restore power to the vehicle. Attach the positive terminal first, followed by the negative terminal. Use a wrench to tighten the connections securely. Ensure the battery terminals are clean and free from corrosion. Verify that all electrical systems function correctly after reconnecting the battery.
Troubleshooting Tips
Common Issues
Key not recognized
A common issue involves the vehicle not recognizing the new Audi LCD Smart Car Key. This problem can arise due to improper programming or a faulty key.
LCD display not working
Another frequent problem is the LCD display failing to function. This issue might stem from a dead battery or a malfunctioning screen.
Solutions
Reprogramming the key
Reprogramming the key often resolves recognition issues. Connect the key programming device to the vehicle's diagnostic port. Follow the instructions in the user manual to reprogram the key. Ensure that the key syncs correctly with the vehicle's system.
Checking the battery
Check the battery if the LCD display does not work. Open the key casing and inspect the battery. Replace the battery if it appears drained or damaged. Ensure that the new battery is compatible with the Audi LCD Smart Car Key model. Verify that the display functions properly after replacing the battery.
Frequently Asked Questions
How long does the installation take?
The installation of an Audi LCD Smart Car Key typically takes about 1 to 2 hours. This duration includes the time needed for removing the old key, installing the new key, and programming it. Users should allocate additional time for reading the user manual and gathering tools and materials. Following the instructions carefully can help ensure a smooth and efficient installation process.
Can I install the key myself?
Yes, users can install the Audi LCD Smart Car Key themselves. The process involves straightforward steps that do not require professional assistance. Detailed instructions provided in the user manual guide users through each step. However, users should feel comfortable using tools such as screwdrivers, pry tools, and a key programming device. Wearing protective gear and following safety precautions is essential.
What should I do if the key doesn't work?
If the Audi LCD Smart Car Key doesn't work, users should first check the battery. A drained or incompatible battery can cause the key to malfunction. Replacing the battery with a compatible one often resolves this issue. If the problem persists, reprogramming the key may be necessary. Connecting the key programming device to the vehicle's diagnostic port and following the user manual's instructions can help sync the key correctly. For persistent issues, consulting a professional locksmith may be advisable.
The installation process for the Audi LCD smart car key is straightforward and efficient. Users benefit from enhanced security and convenience, including features like keyless entry and automatic window lift. Following each step carefully ensures a smooth installation. The new car key fob offers advanced technology that improves the driving experience. Best wishes for a successful installation and an upgraded driving experience with the new Audi key fob.
See Also
Step-by-Step Guide to Setting Up iSun Manufacturer's Smart Car Key
Replacing Your Car Key with iSun Manufacturer's Smart Key
Switching to a Smart Car Key: Step-by-Step Battery Replacement

iSun Digitech Limited
Contact : Coco Huang
E-mail: sales@iasun.cn